Cracked bathroom tiles are more than just an eyesore—they can lead to water damage, mould growth, and further structural issues if left unattended. Whether it’s a minor crack or a completely shattered tile, proper bathroom repair is essential to maintain both aesthetics and functionality.
In this guide, we’ll walk you through the best methods for repairing or replacing cracked tiles, ensuring your bathroom remains in top condition. Plus, we’ll discuss essential surface restoration techniques to give your tiles a fresh, long-lasting finish.
Understanding the Cause of Tile Cracks
Before repairing or replacing cracked tiles, it’s important to identify the cause. Here are some common reasons why bathroom tiles crack:
🔹 Heavy Impact: Dropping a heavy object (such as a shampoo bottle or a tool) can cause surface damage.
🔹 Subfloor Movement: If the foundation beneath the tiles shifts or settles, it can lead to cracks.
🔹 Temperature Changes: Extreme fluctuations in temperature and humidity can cause tiles to expand and contract, leading to cracks.
🔹 Poor Installation: If tiles are not properly installed with the correct adhesive and grout, they become more prone to cracking.
Once you understand the root cause, you can proceed with the appropriate bathroom repair method.
How to Repair Minor Tile Cracks
If the crack is small and doesn’t compromise the structural integrity of the tile, a simple repair may be enough. Here’s how you can fix minor cracks without replacing the entire tile:
Step 1: Clean the Tile Surface
Before applying any repair materials, clean the cracked tile thoroughly using warm water and mild detergent. Let it dry completely.
Step 2: Apply Epoxy or Tile Filler
Use a high-quality epoxy resin or a tile repair filler to seal the crack. Follow these steps:
✔ Mix the epoxy as per the manufacturer’s instructions.
✔ Apply it directly into the crack using a small spatula or toothpick.
✔ Smooth out the surface to match the tile’s natural finish.
Step 3: Paint Over the Repair
If the crack is still visible after sealing, you can use surface restoration techniques to blend it with the rest of the tile. Choose a paint that matches the tile’s colour and apply a thin layer over the repaired area.
Step 4: Seal the Tile
Once the repair is dry, apply a clear tile sealer over the entire surface to protect it from moisture.
When to Use This Method:
✅ When the crack is hairline-thin and doesn’t compromise the tile’s strength.
✅ When you want a quick, cost-effective solution instead of replacing the tile.
How to Replace a Cracked Tile Like a Pro
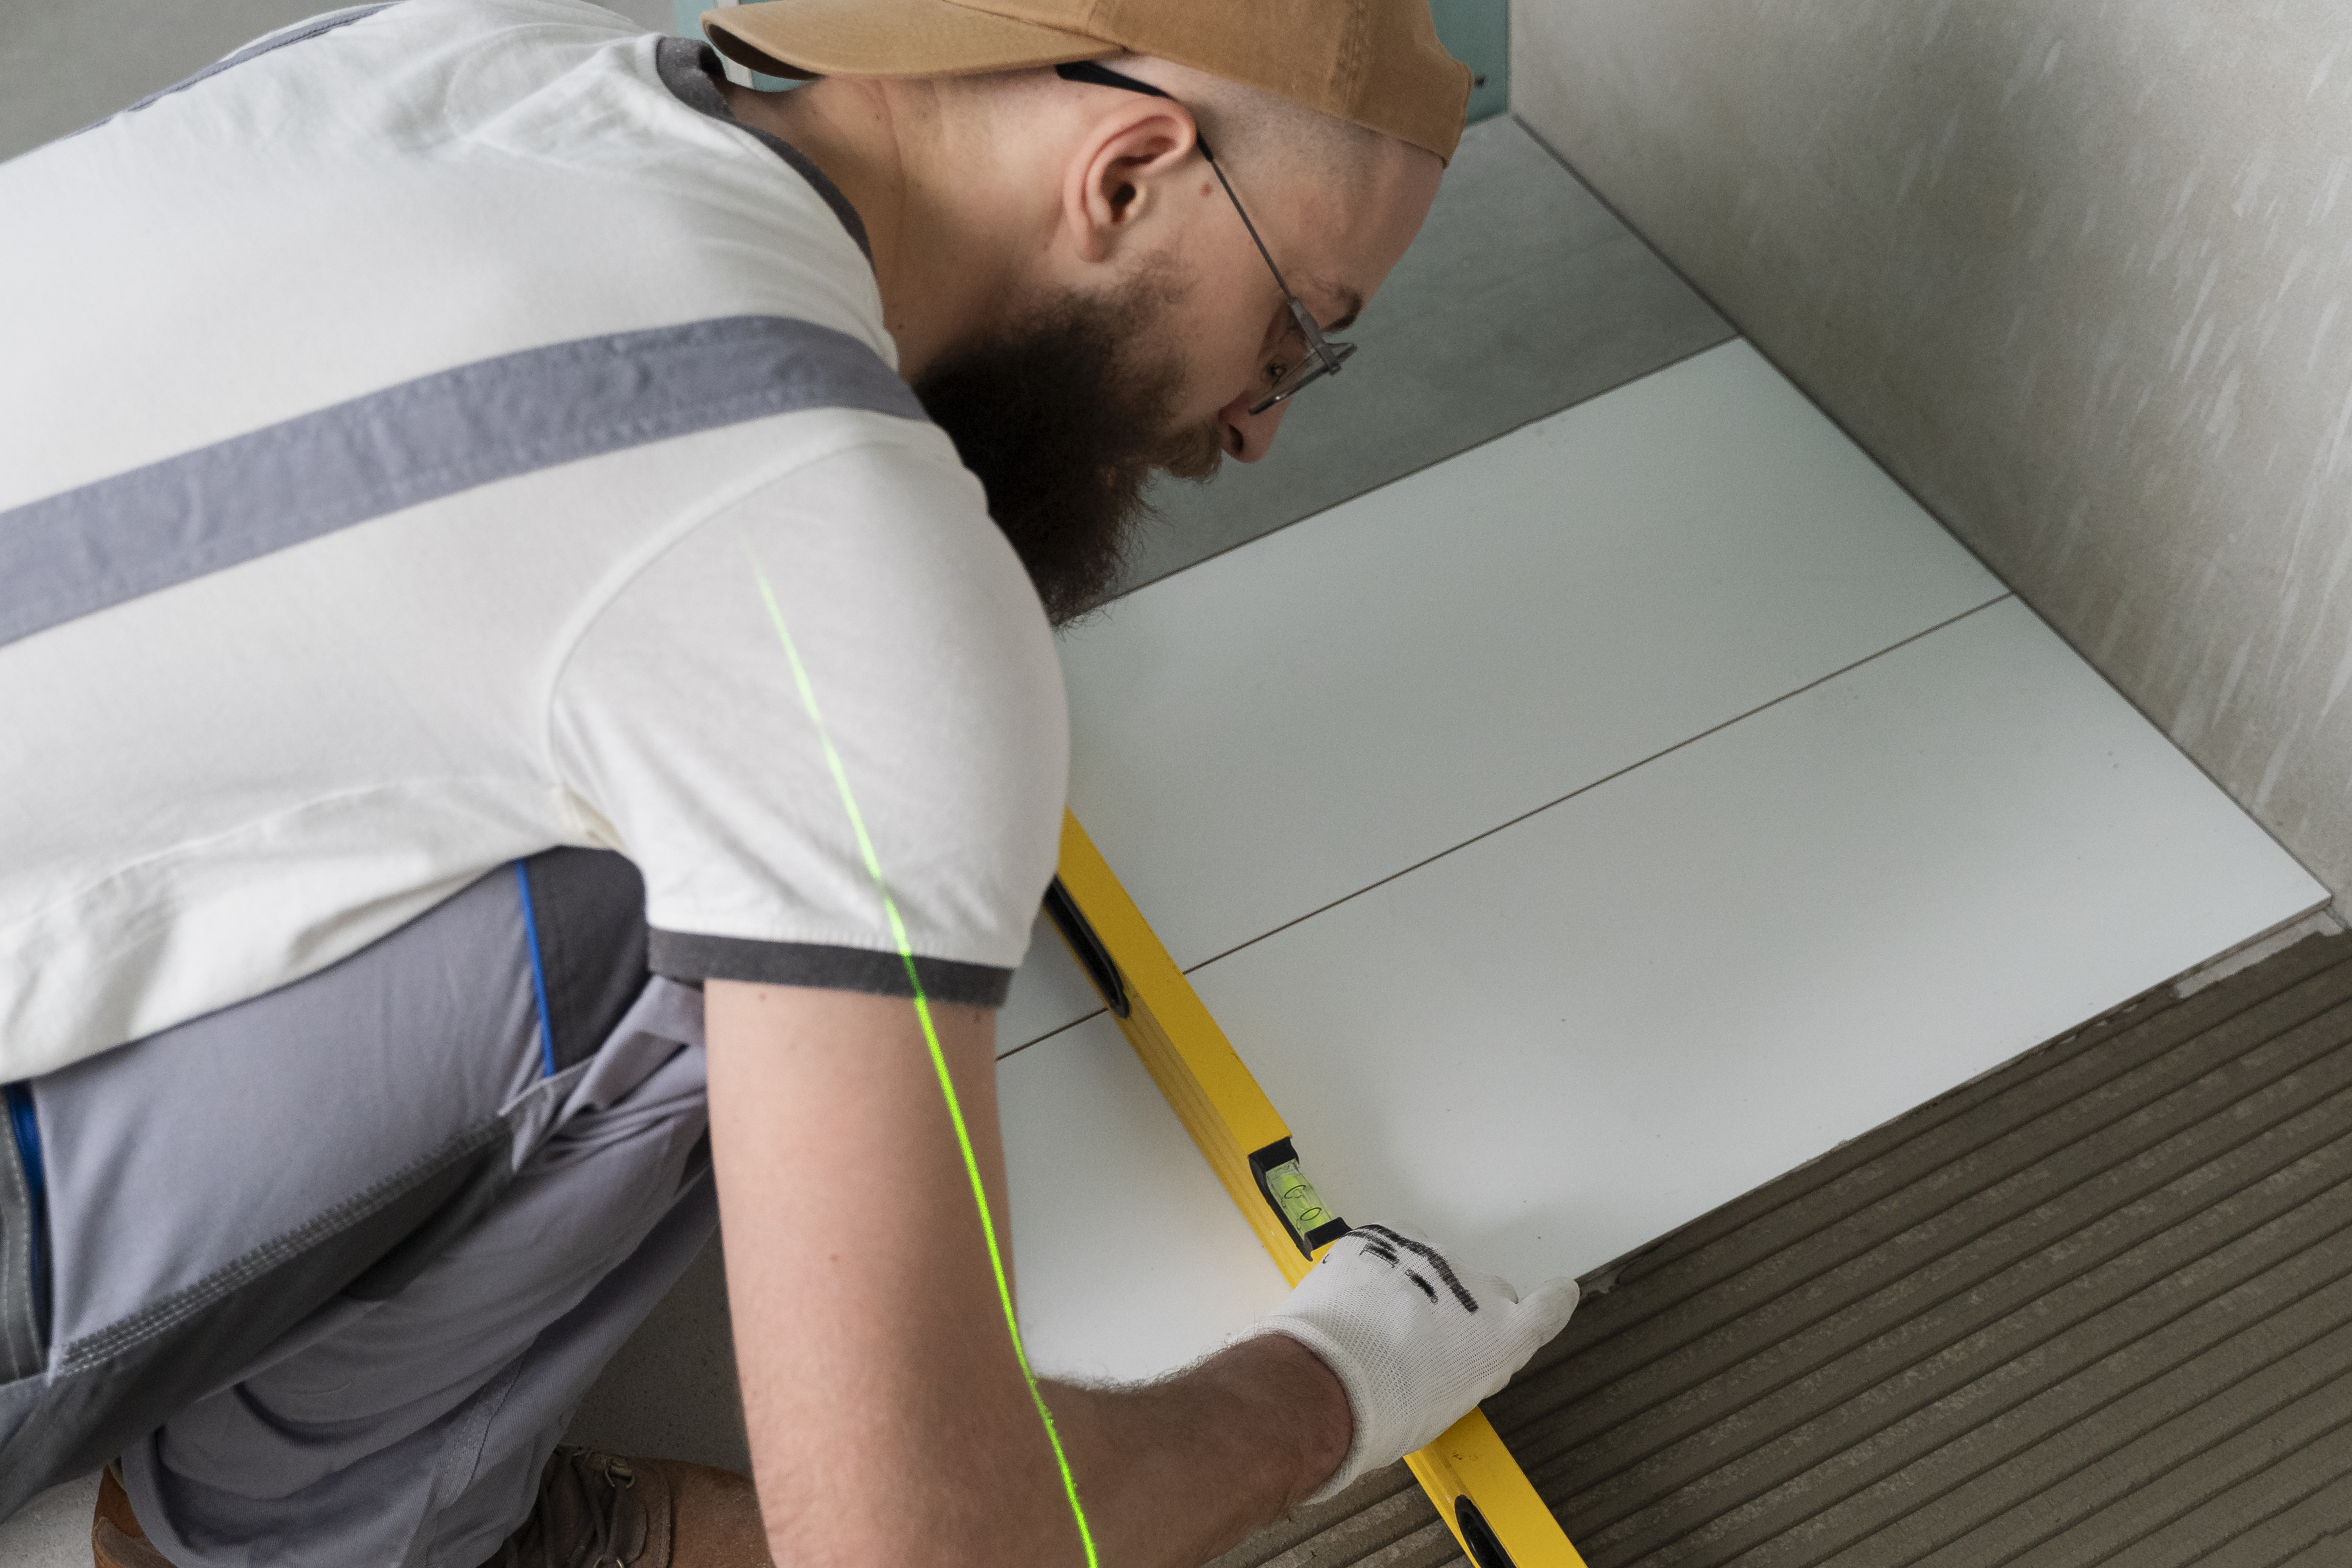
If the crack is too large or if the tile is shattered, replacing it is the best option. Follow these step-by-step instructions to remove and replace a broken tile efficiently.
Tools & Materials Needed:
✔ Replacement tile
✔ Grout saw or utility knife
✔ Chisel and hammer
✔ Tile adhesive (thin-set mortar)
✔ Notched trowel
✔ Grout and sponge
✔ Tile spacers (if needed)
Step 1: Remove the Grout Around the Tile
Using a grout saw or a utility knife, carefully remove the grout surrounding the damaged tile. This prevents nearby tiles from cracking during removal.
Step 2: Break and Remove the Tile
✔ Use a chisel and hammer to break the cracked tile into smaller pieces.
✔ Carefully remove the broken pieces without damaging the surrounding tiles.
✔ If necessary, scrape away any remaining adhesive from the subfloor.
Step 3: Apply New Adhesive
✔ Spread thin-set mortar (tile adhesive) onto the exposed area using a notched trowel.
✔ Ensure an even layer to avoid uneven tile placement.
Step 4: Place the New Tile
✔ Align the new tile into place, pressing it firmly into the adhesive.
✔ Use tile spacers if necessary to maintain even gaps between tiles.
✔ Let it dry for 24 hours before proceeding to the next step.
Step 5: Apply Grout
✔ Once the adhesive is dry, mix and apply grout into the spaces between tiles using a rubber float.
✔ Wipe away excess grout with a damp sponge before it fully hardens.
Step 6: Seal the Grout
✔ After the grout has cured (usually 24-48 hours), apply a grout sealer to prevent moisture absorption and future damage.
When to Use This Method:
✅ When the tile is completely broken or has large cracks.
✅ When you want a long-term fix with a new, perfectly matched tile.
Surface Restoration: Bringing Your Tiles Back to Life
If your bathroom tiles look dull or worn out, surface restoration techniques can restore their shine without needing full replacements.
🔹 Deep Cleaning: Use a tile cleaner and scrubbing brush to remove stains and dirt buildup.
🔹 Regrouting: Old grout can make tiles look aged—replacing it can refresh the bathroom’s overall appearance.
🔹 Polishing & Sealing: A ceramic tile polish followed by a protective sealant will enhance durability and shine.
With these bathroom repair and surface restoration methods, your tiles will look as good as new!
Preventing Future Tile Cracks
Once you’ve repaired or replaced your cracked tile, take these precautions to avoid future damage:
✅ Use High-Quality Tiles: Choose durable tiles that can withstand temperature changes and pressure.
✅ Ensure Proper Installation: Hire a professional or follow best practices when installing tiles.
✅ Regular Maintenance: Clean and seal your tiles periodically to prevent damage from moisture and dirt buildup.
✅ Use Mats & Rugs: In high-traffic areas, place mats or rugs to reduce impact and pressure on the tiles.
Final Thoughts
Whether you choose to repair minor cracks or replace completely damaged tiles, maintaining your bathroom tiles is essential for both aesthetics and functionality. Proper bathroom repair techniques and surface restoration will ensure your tiles last for years without compromising their beauty.
If your bathroom tiles are in need of urgent fixing, don’t wait—follow these professional tips and restore your tiles like a pro today!


